- A make-up sponge
- White nail polish
- Two to three colors you want to be in the ombre
- Top coat
- Elmer's glue
- Paint brush

This step is going to seem really strange, but trust me! It really helps in the end. Using your paint brush, dip it into the Elmer's glue and apply thin layers around your nails.

Next, apply the white polish until it is almost opaque. It doesn't have to be completely solid because it is just acting as a base. Let the glue and the white polish dry before moving onto the next step.

Now take your make-up sponge and apply the colors you are going to use darkest to lightest. When you are applying the first coat onto the sponge you may need to put multiple coats because the sponge absorbs the paint.
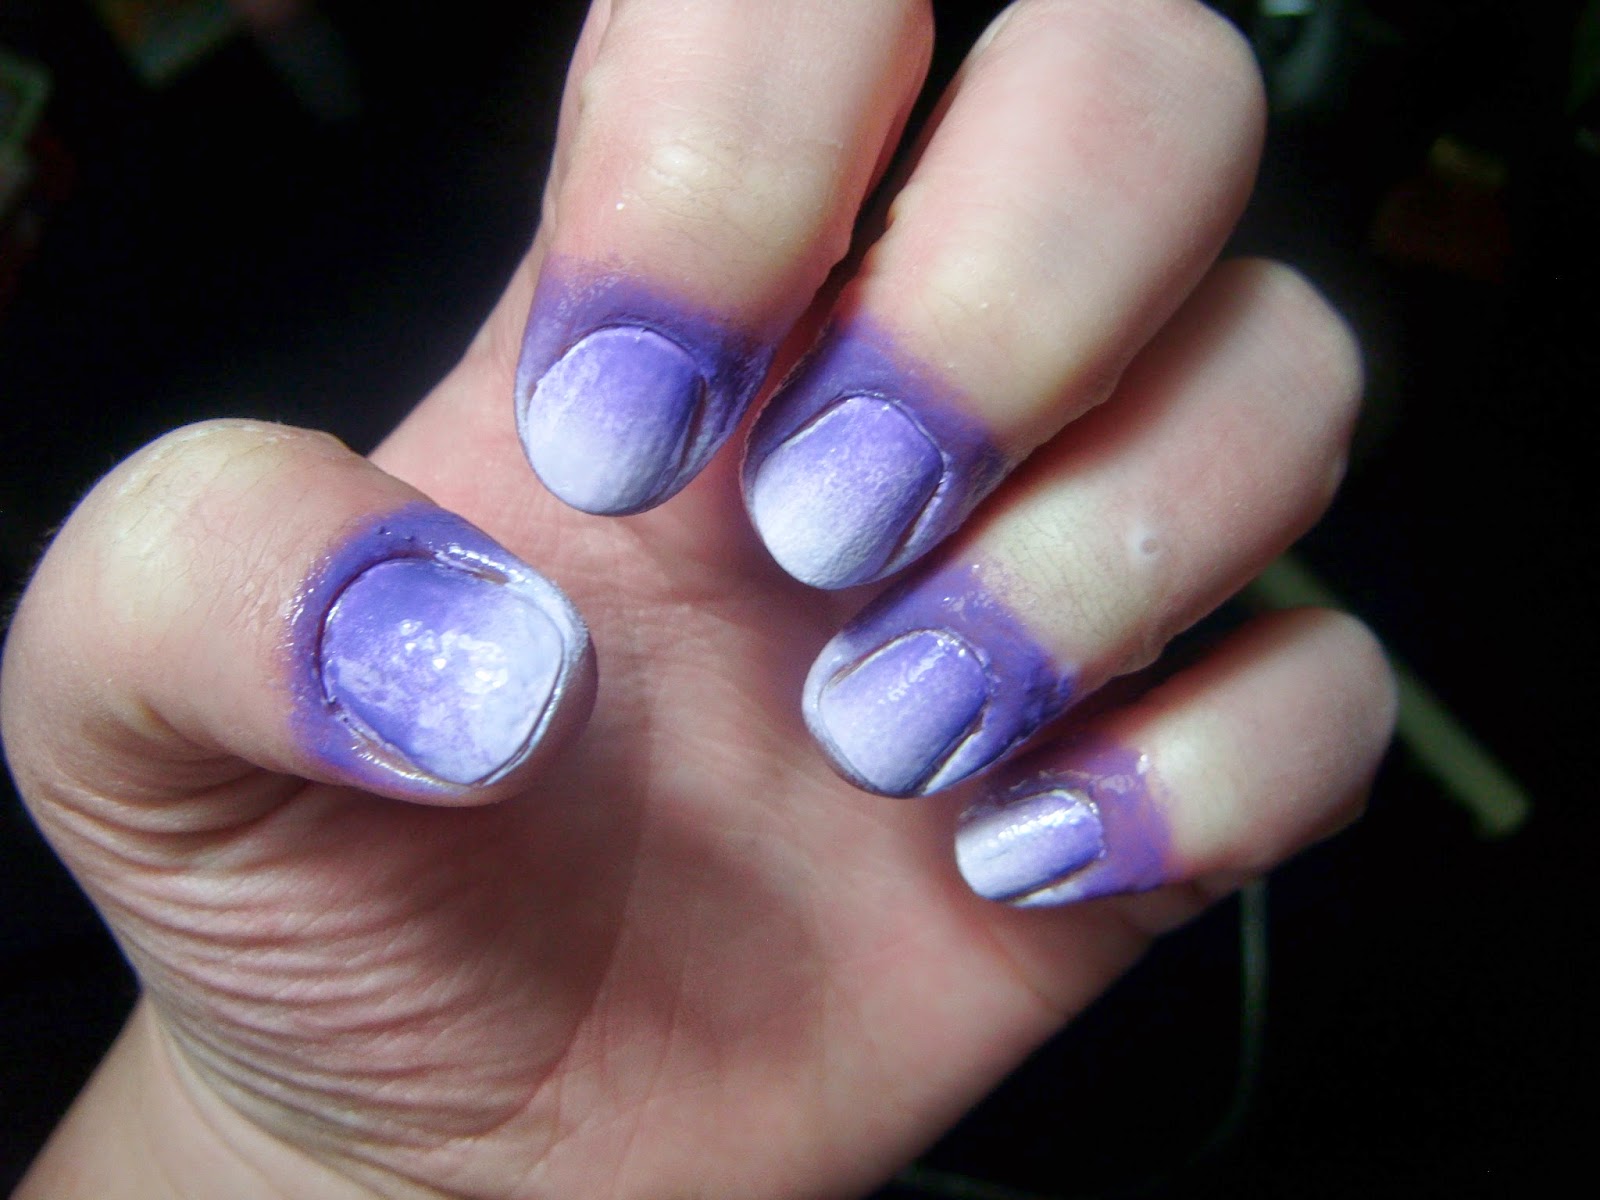
Apply the paint to your fingernails. To make it opaque repeat the last step and this step several times on each nail.

After the nail polish has completely dried, remove the glue by peeling it up. This should remove most of the paint that would have been on your skin. Clean up any extras with a Q-tip and nail polish remover.

Apply a top coat and you are done!