Monday, October 28, 2013

Halloween Nails: Pumpkins

Nail art is super trendy and super fun. When it comes to different holidays we all want to have festive nails. In this tutorial I will be showing you how to get Halloween ready nails!


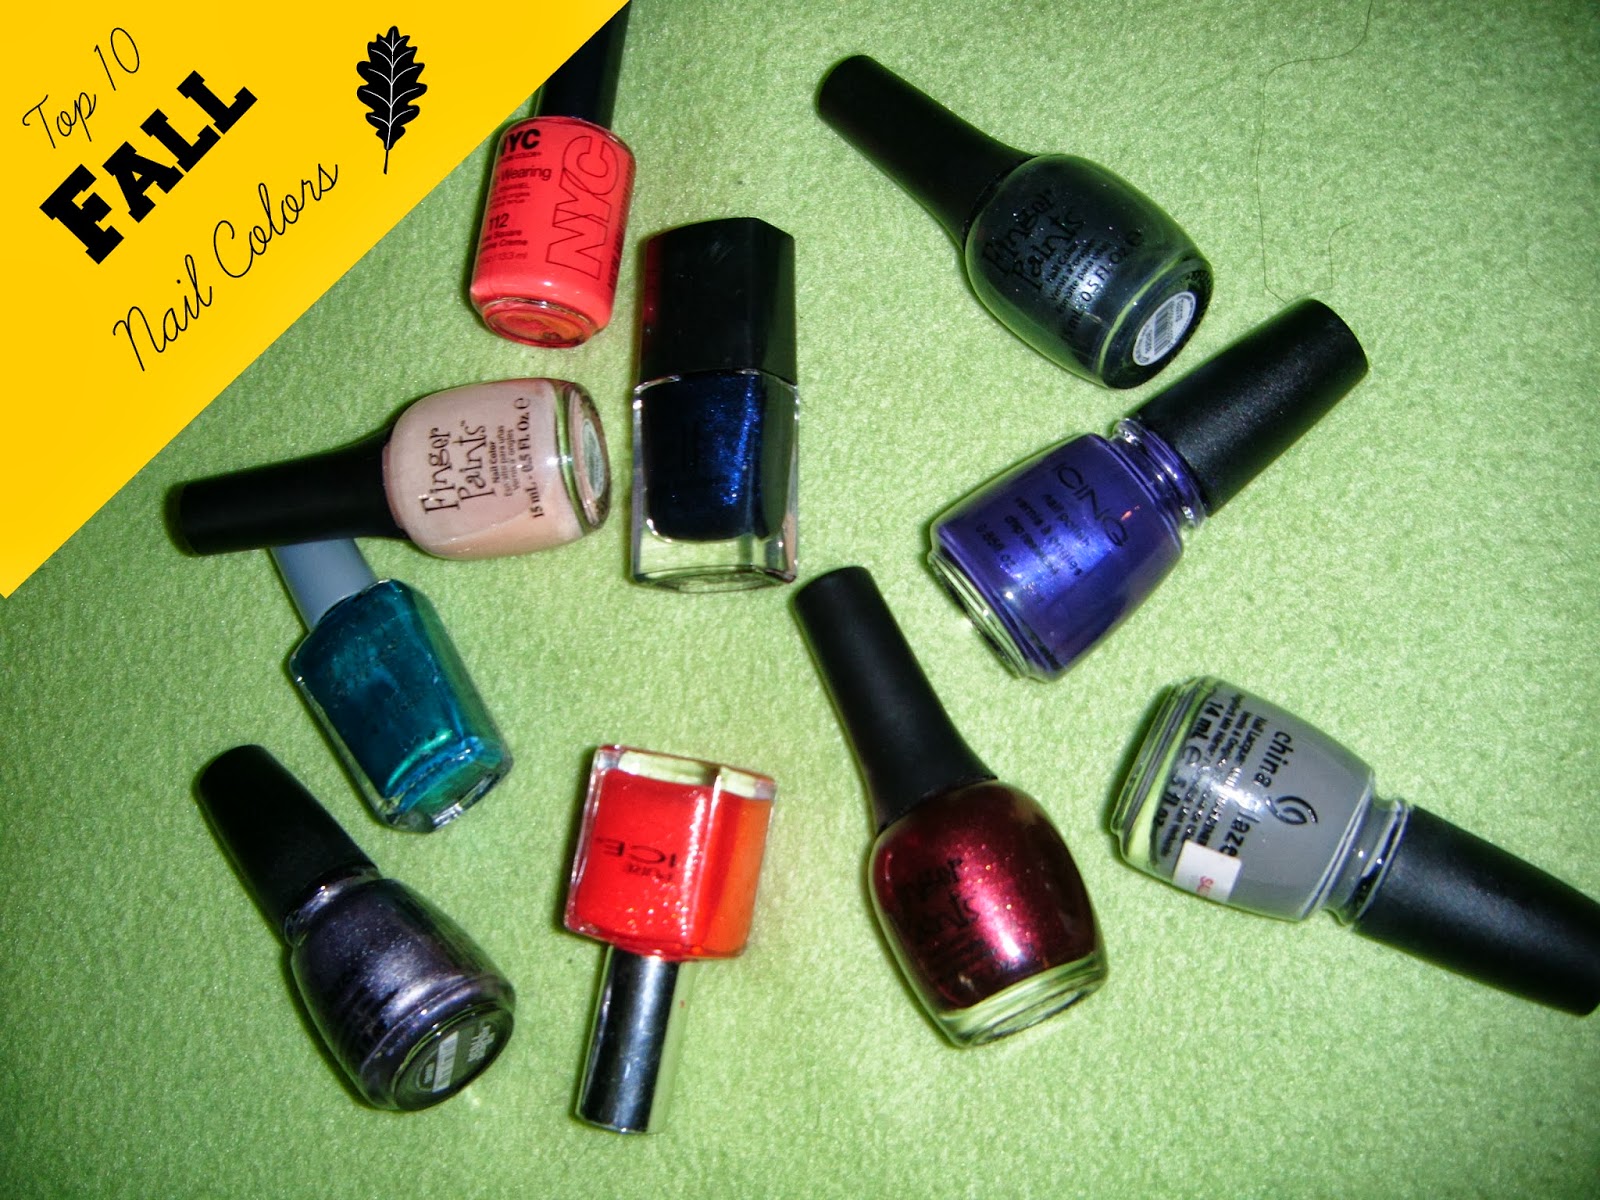
Here's what you'll need. A grey polish, I'm using China Glaze's Recycle (this can be replaced with any color you'd like I just like the gray). A green, preferably one with shimmer, I'm using Caribbean Frost bye Wet 'N' Wild. An orange which is NYC's Times Square Tangerine Creme. A gold sparkle top coat I'm using COVERGIRL's Boundless Color in Gold Rush. The last polish you'll need is a black, I'm just using one from the dollar store. Finally you'll need some pins. 


Start off with clean and filed nails. It doesn't matter how your file them, just do your normal routine. 


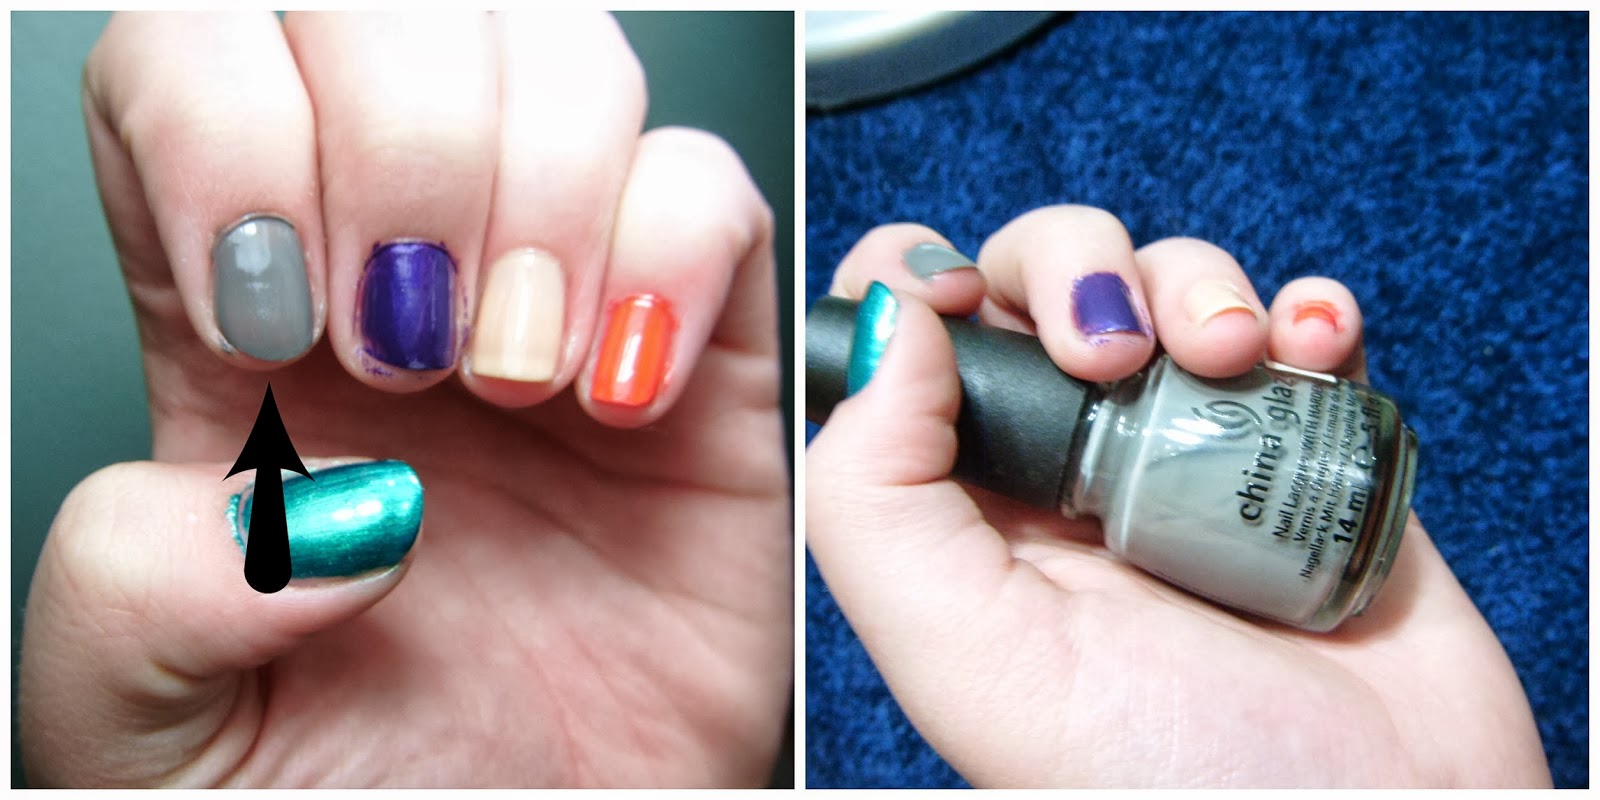
Next, paint all of your nails, except your ring finger, with your grey or your substitute. On your ring finger use your orange color. Apply as many coats as you need then let them dry. 


Using one of the pins, dip it into your black polish and draw a Jack O'lantern face. 


Now, using the same pin and the black polish, draw lines like you would see on a pumpkin. 


Now, taking the green, you can use a pin or just brush the color to the tip of your nail to make it look like the stem. Using the gold dab it into the eyes to give it a glowing affect. 


And now your done! :) 

Friday, October 25, 2013

Halloween Make-up: Dead Girl

We all want to look great for Halloween, whether that be looking super cute or super spooky. Knowing how to make yourself look dead is huge when creating the perfect scary look. Here is my take on it.


First, white out your face. You can use any white face paint you want. There is white tube paint or water activated paint like the one I am using. Avoid your eye lids and under eyes. *WARNING* Moisturize before applying full face make-up or paint. It can dry out the skin ALOT.


Next draw circles around your eyes with black pencil eye liner. The top of the circle should be around your eye brow and the bottom should be about 3/4th of an inch under the eye. Fill in the circle with the eye liner and smug out with your finger. This will act as a base for the next step. *Skip this step and the next if you have black face paint. Just draw a circle around the eye with that and fill it in*


Now, take a matte black eye shadow and apply it over the eye liner you smudged out on your eyes. This may take a few coats to get it solid. With the same eye shadow contour under your cheek bones and on your temples. Smudge this out with your finger.


For the nose, apply the black eye liner first and smudge it out with your finger. Then apply black eye shadow on top. Dab a little bit of the white face paint on your lips if it is mouth safe. Don't worry about making it opaque because it is just a base.  *If you have black paint, use it on the nose.*


Find a blue eye shadow. I used the darkest color in Rimmel's Maritime palette. Apply this under your eyes to create bags, under the cheek bones and around the mouth. You also want to put it on your lips. With this step, make it a little messy. Things don't need to be symmetrical, after all you are dead.

You make up look is complete!

Tuesday, October 22, 2013

Top 5 Lip Colors for Fall


A huge fall trend is bold lip colors. Not everyone wants to go super bright and bold, so I have a whole range of colors that are my favorite's for fall.


My first pick is E.L.F's Lip Stain in Nude Nectar. It is the swatch on the left. I like this because it gives your lips a little pop of color without having to commit to a full blown red lip.


Next is Mocha by NYC. This color can be worn by itself for a neutral effortless look or it can be paired with a bold color to give you an edgy and trendy metallic look. It is the second swatch on the left.


Lipstick pencils are great for carrying in your purse or backpack. My favorite is COVERGIRL's Lip Perfection Jumbo Gloss Balm in 250. It moisturizes your lips like a balm, but gives you the color payoff of a lipstick. You can also wear it more sheer for a stain effect. Its swatch is in the middle.


Next is another lip balm type item. This is Wet'n'Wild's Megashield in That's Berry Beautiful. It is a true red color and would match any skin type. Just like the Jumbo Gloss Balm, it can be worn sheer or with full color. It's swatch is the second to the right.


This last one is probably my favorite. It is Sephora's Maniac. It is a deep berry color and its perfect for fall. I found it on the clearance rack while hunting for some fall lip colors and I feel in love. It lasts long and the color is beautiful. I personally apply it then blot it so its not to heavy. Its swatch is all the way to the right. 

Monday, October 21, 2013

Outfit of the Day: Because its Monday


I have been loving my over-sized sweater paired with my grey infinity scarf. Today I wore a floral print tank top and some plain blue jeans. 


Since all I was doing was going to school I threw on my knock-off TOMS that have a tribal pattern on the side. Overall, I just went for a laid back look.

Saturday, October 19, 2013

Tumblr Inspired Outfit of the Day


This is the first outfit I created with my DIY sweater. I paired it with a pair of black leggings, a grey over-sized T-shirt and my grey infinity scarf. It is super cute and super comfortable. 


I paired it with my favorite kitten heels to dress it up a little, but you can wear a pair of boots for a more casual look.

DIY Big comfy sweater

This sweater was inspired by a picture I saw on Tumblr. Big sweaters are great for the fall time! Here is how I made one. You do need a sewing machine and beginners knowledge with how to work it. Here's what you'll need: 


A pull over sweater that is one or two sizes bigger than your normal size (you can find these at Wal-Mart), thread that matches your sweater, pins, needles, buttons of your choice, scissors, and a fabric pencil (which i forgot to put in the picture). 

 
Next, mark the middle of your sweatshirt at the top, and the bottom. This will be your guidelines for where to cut. 


Follow your guidelines and cut down the middle. Don't worry about it being perfect because they will be hidden later. 


Open your sweater and pin about a half inch of the fabric in for the hem. Do this to both sides. Pinning it will help with you when you start to sew. 


Now sew down your hem, taking the pins out as you go. Do this for both sides. 


Measure the diameter of your button. 


Women's clothes have button holes on the right side, but men's clothes have buttons on the left. Remember this when you are placing your button holes. Distribute the space between the buttons evenly and when you are marking off where you are going to sew your button holes, add 1/8th of an inch to the length to ensure that is is big enough. IMPORTANT: Do NOT cut your holes yet!


After sewing the button holes, you can now cut the hole in the middle. 


Bring the side with the holes in it across to the other side. Mark in the middle of the holes so that you know where to sew in your button. 


Sew in your buttons and tie them off in the back. 


Now your sweater is done! :) 

Friday, October 18, 2013

"Lucky" Magazine Outfit inspiration: November 2013

I just got my monthly magazine from Lucky, and after reading through it the "Style" sections opener really inspired me. The title was "Go Bold in Black and White" by Jenna Gottlieb. Black and white is very simple, but very chic. It is a great fall trend, that I hope comes back next year. Here is my black and white outfit.


I paired a black long sleeve shirt, with button detailing on the sleeve, with a banded zebra print skirt. I added a pair of black leggings to keep my legs warm. The shirt is from Wal-Mart, the skirt is from Wet Seal, and the leggings are from Ross.


For shoes I threw on my favorite leather boots, that have chain and stud detailing. I got these on sale from Charming Charlies a few years ago.

Thursday, October 17, 2013

TRESemmé Split Remedy Shampoo & Conditioner Review


Its time for another review!

This time I will be giving you my opinion on TRESemmé's Split Remedy Shampoo and Conditioner. I'm just going to jump right into it. The first time I used these, the conditioner left my hair feeling very weighed down and greasy. However, my hair did look a lot less damaged and my dead/split ends looked repaired. I switched shampoo and conditioners for about a week because I didn't like the way it made my hair feel. As soon as I went back to my old products my split ends were back. A few days later I tried using the Split Remedy products again. My hair is now a little used to it, but it still does make my hair feel waxy. My hair looks great, but it doesn't feel as good. I don't touch my hair too often so it doesn't quite bother me, but if you do you might want to consider a different product line.

Top 10 Fall Nail Polish Colors


Fall is all about the color, naturally choosing the right nail colors could be a big and scary task. I'm here with my top 10 favorite nail polish colors for this Fall. 


My first favorite is Caribbean Frost by Wet'N'Wild. Emerald green is a huge trend this fall. It adds a very pretty pop of color to your nails in a season of dark colors. I applied 2 coats of this for an opaque finish.


Next up is Recycle by China Glaze. I love this color because you can use it for almost any nail look. It has no sparkles and is great for a sleek professional look. I applied 2 coats for an opaque finish.


Purple is a great color to wear during the fall. My favorite is Text Me Later by Icing. This is a royal purple, but it isn't too dark. I applied 2 coats.


Nude colors are great for year round, but my favorite is Natural Talent by Finger Paints. It leaves a fleshy peach tone and it keeps your nails looking clean if you don't want a bright color. The only downside to this polish is that it is very transparent. To build up the color I had to add about 4 coats of polish.


Orange is a must have for autumn While it is a super bright and cheery color it goes great with a Halloween inspired outfit. I used NYC's Timesquare Tangerine Creme. This color in particular is great if you don't want sparkles in your nail polish. I used 2 coats.


This color is Really Rio by Pure Ice. It is the same shade of orange as the previous color, but this one has sparkles. I also used 2 coats for this polish.


Holographic nail polishes are very trendy right now. While this color isn't exactly holographic it does have the same sort of affect. This polish is Avalance by China Glaze. This is a slightly purple toned grey and it adds a little flash to your nails. I applied 2 coats.


Maroon/Wine is the color of the fall. My favorite maroon polish is Wine at the Gallery by Finger Paints. This polish has sparkle and is a very deep red. It applies with 1 or 2 coats.


Meet Me at the Met by Finger Paints is another grey. It is darker then Recycle and it does have sparkle. I applied two coats.


Last is Midnight Blue by E.L.F. This color is a dark navy. It is a very mature color and it is a good step up from the cliché black. I applied two coats.

Tuesday, October 15, 2013

DIY Hair Bow


Hair bows are definitely in right now, but you don't have to go out and buy one! You can make them right at home! Here's what you'll need:


Scissors, Ironed Fabric, Bobby Pins/Hair Clip/Alligator clips, needles, thread to match your fabric, measuring tape, and a fabric pencil. 


Now, measure your fabric to be 9.5 by 7 inches using your fabric pencil to mark off your measurements. 


Cut your fabric at the marked off spots. Don't worry about being perfect while cutting because the ends will be hidden once the bow is done. 


Fold the fabric long ways, folding both ends in, making them over lap a little bit. 


Now fold then outer ends in, making them over lap like in the last step. 


Flip over your fabric and pinch it in the middle to fold it into a bow. Play around with the folds until you are satisfied with the look. 


Stitch the middle folds until it is secure. Make sure you sew in the middle during this step or else your bow will be lop-sided. 


After you are done sewing the center, tie a knot in each end of the string to ensure that the stitching won't come undone. Don't worry if your sewing isn't perfect, it will be covered in the next few steps. 


Take a fabric scrap about the length of the bow by about one inch for your center covering. 


Fold this long ways, folding both ends in like you did with the large piece of fabric. 


Now wrap this piece of fabric around the center of your bow like shown above. Don't trim the extra now, it will make sewing difficult. 


Sew the center piece shut, getting as close to the bow as possible. 


Tie knots in your thread, then trim off the extra fabric as close to the stitching as possible. 


Slip a bobby pin in the back. If you'd like you can glue in an alligator clip with hot glue, but I didn't have any so I used the bobby pins instead. 


Now you have your very own hair bow! :)