Hello everyone!
I know I haven't posted in a while (since June or July), so I thought I would give a little explanation instead of just randomly being active again.
A little over a month ago I moved up to college as a freshman and everything has been very exciting and new, but also very busy as I'm sure you can imagine. I'm much more settled in now and have gotten into a pretty set schedule since Move-in day.
With that said I will be hopefully be posting about once or twice a week! I think Sunday's or Monday's will probably be the best for me since I don't work either of those days. This isn't really set in stone though.
Thank you guys for still visiting my blog and being active when I wasn't! Please leave some comments below of what you would like to see in the next few weeks and months.
Much Love,
Kennyista

Sunday, September 28, 2014
Monday, June 23, 2014
Friday, June 20, 2014
Monday, June 2, 2014
Friday, May 30, 2014
Wednesday, May 14, 2014
DIY Cucumber Mint Face Mask
Do it yourself face masks are always a ton of fun! I found this one in Redbook Magazine and decided to try it out.
Here's what you'll need:

First, add the ice to the blender. I used a whole ice tray of cubes. You can probably use half or even a quarter of this if you don't want to have any left over.

Next, add the cucumber in. Again, you can use up to half or a quarter of a cucumber if you do not want left overs.

Now add in a few drops of the spearmint oil. Add more if you want a stronger mask. Blend all of the ingredients until it is smooth in texture.

Now you have a refreshing cucumber mint face mask! After you apply it to your face, freeze the left overs! Just thaw until it is a slushy consistency before using it the next time. Enjoy!
Here's what you'll need:
- 2 cucumbers (or one large one)
- Ice
- Spearmint essential oil
- A blender
First, add the ice to the blender. I used a whole ice tray of cubes. You can probably use half or even a quarter of this if you don't want to have any left over.
Next, add the cucumber in. Again, you can use up to half or a quarter of a cucumber if you do not want left overs.
Now add in a few drops of the spearmint oil. Add more if you want a stronger mask. Blend all of the ingredients until it is smooth in texture.
Now you have a refreshing cucumber mint face mask! After you apply it to your face, freeze the left overs! Just thaw until it is a slushy consistency before using it the next time. Enjoy!
Monday, March 31, 2014
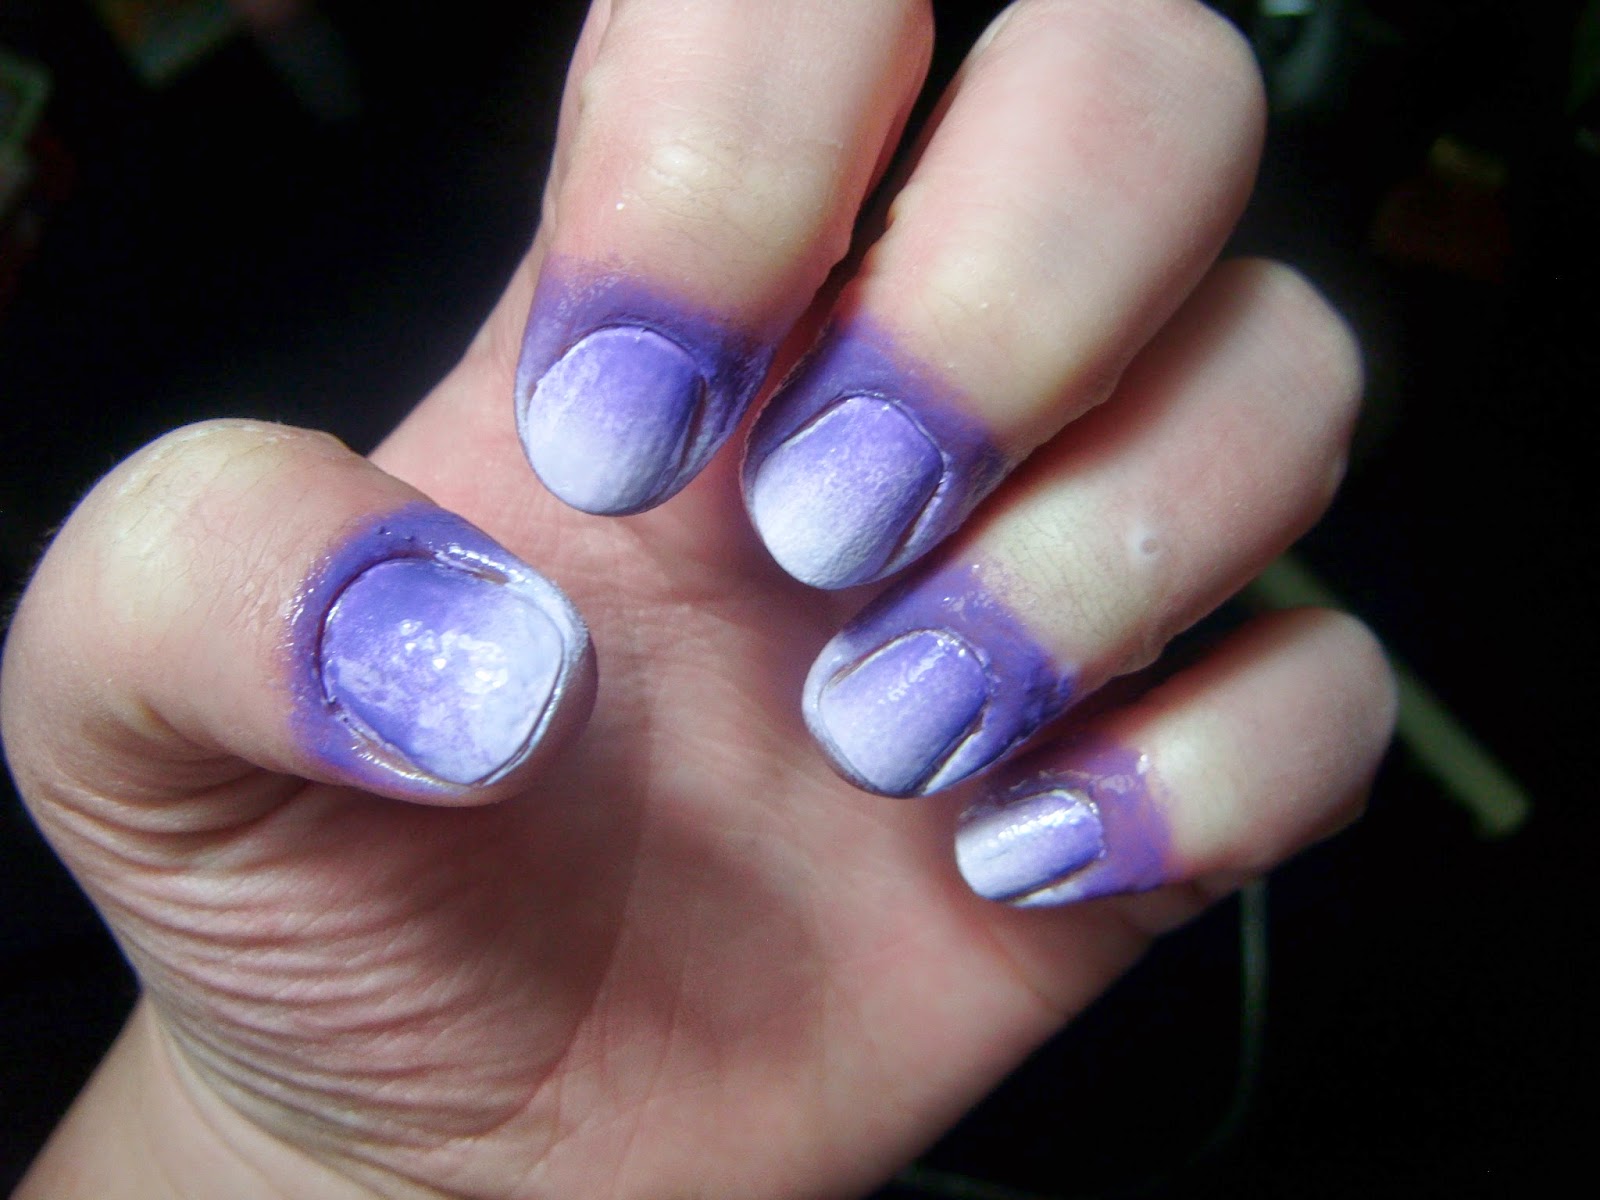
Ombre Nail Tutorial
When ever I am on Pinterest or Instagram I always see pictures of beautifully done ombre nails that look as if only a professional could have done them. In reality they aren't hard to achieve at all! Here's what you'll need:


- A make-up sponge
- White nail polish
- Two to three colors you want to be in the ombre
- Top coat
- Elmer's glue
- Paint brush
This step is going to seem really strange, but trust me! It really helps in the end. Using your paint brush, dip it into the Elmer's glue and apply thin layers around your nails.
Next, apply the white polish until it is almost opaque. It doesn't have to be completely solid because it is just acting as a base. Let the glue and the white polish dry before moving onto the next step.
Now take your make-up sponge and apply the colors you are going to use darkest to lightest. When you are applying the first coat onto the sponge you may need to put multiple coats because the sponge absorbs the paint.
Apply the paint to your fingernails. To make it opaque repeat the last step and this step several times on each nail.
After the nail polish has completely dried, remove the glue by peeling it up. This should remove most of the paint that would have been on your skin. Clean up any extras with a Q-tip and nail polish remover.
Apply a top coat and you are done!
Sunday, March 30, 2014
Tuesday, March 18, 2014
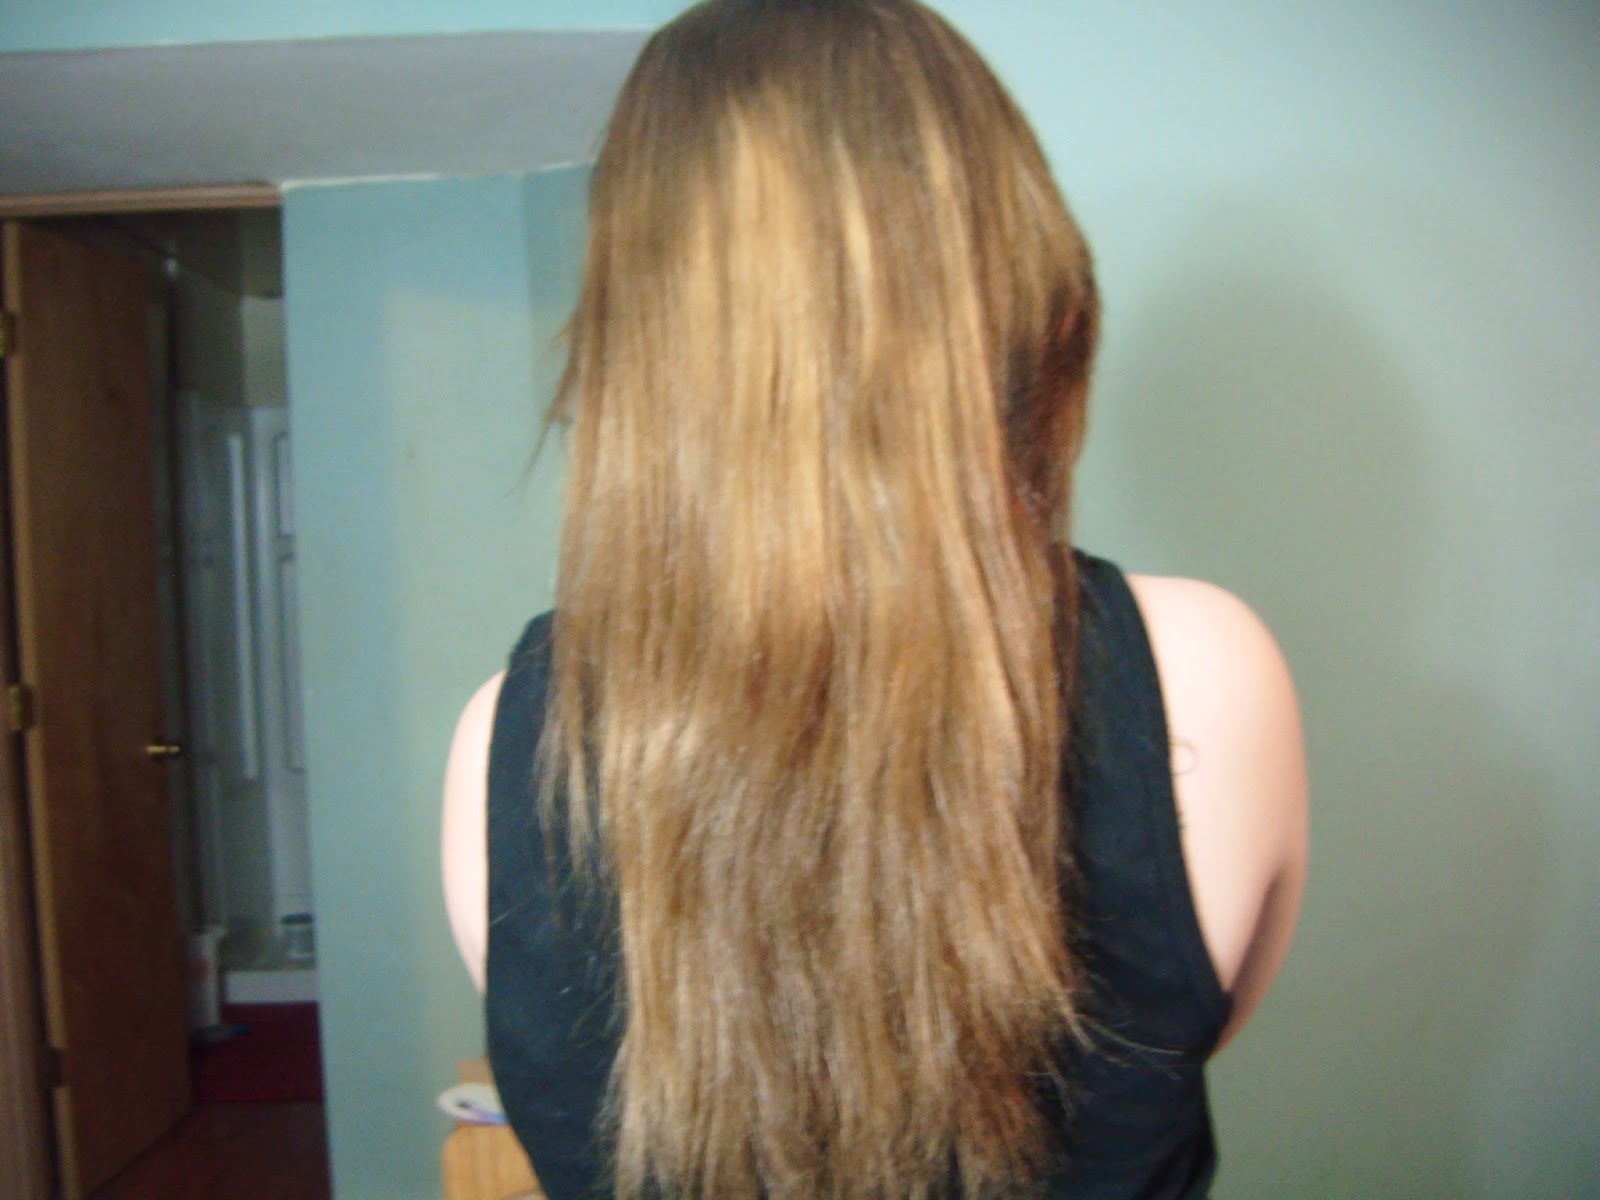
Beauty Busters: Does Honey and Olive-oil lighten your hair? Follow-up
A few months ago I began lightening my hair with a honey and olive-oil mixture that I read could lighten your hair within a few uses (You can find that post here.) I found that it really does! After only two uses my hair was beginning to lighten. Of course it won't work as fast as a boxed dye, but it is much better for you hair and you can have a lot more control over the color. I personally think that this process is great to add highlights for the summery months.
 |
| After one use. |
 |
| After two uses. |
Monday, March 10, 2014
Sunday, February 23, 2014
Cookies in a Mug
If you liked my brownies in a mug post then you'll like this one! Here's what you'll need for Cookies in a Mug:


- 1 tbsp butter
- 1 tbsp sugar
- 1 tbsp brown sugar
- 3 drops of vanilla
- pinch of salt
- 1 egg yolk
- 1/4 cup flour
- 2 tbsp of chocolate chip (or other mix in)
- Your favorite mug
First, melt your butter in your mug. I put mine in the microwave for about 30 seconds then stirred the rest to melt it.
Next add both sugars, vanilla and salt. Mix it in until it is a smooth consistency. If there are any clumps left it will be awkwardly left in the cookie.
Now add the flour, egg yolk and mix until it is a cookie dough texture.
Now add your chocolate chips or other add in. I used butter scotch chips. Mix them in until they are evenly distributed. Pop your cup in the microwave for 40-60 seconds.
Just wait for your cookie to cool a bit and BAM! You have a cookie that only took about five minutes. Enjoy!
Saturday, February 22, 2014
Dazzling White Teeth Whitening Pen

While on a trip to the Dollar Tree, I was in the cosmetics aisle and saw the Dazzling White Teeth Whitening Pen and I decided to try it out. It comes in a twist up brush applicator that is easy to apply. I definitely noticed a difference after one use. After using it a few more times, my teeth are about 3 shades whiter. It does say to rinse off thoroughly, but I still noticed sensitivity in my gums. To fix that I only have been using one a week or every other week and I no longer have sensitivity. I would definitely recommend this product to anyone who is looking into at home teeth whitening for very little money.
Tuesday, January 21, 2014
Wednesday, January 15, 2014
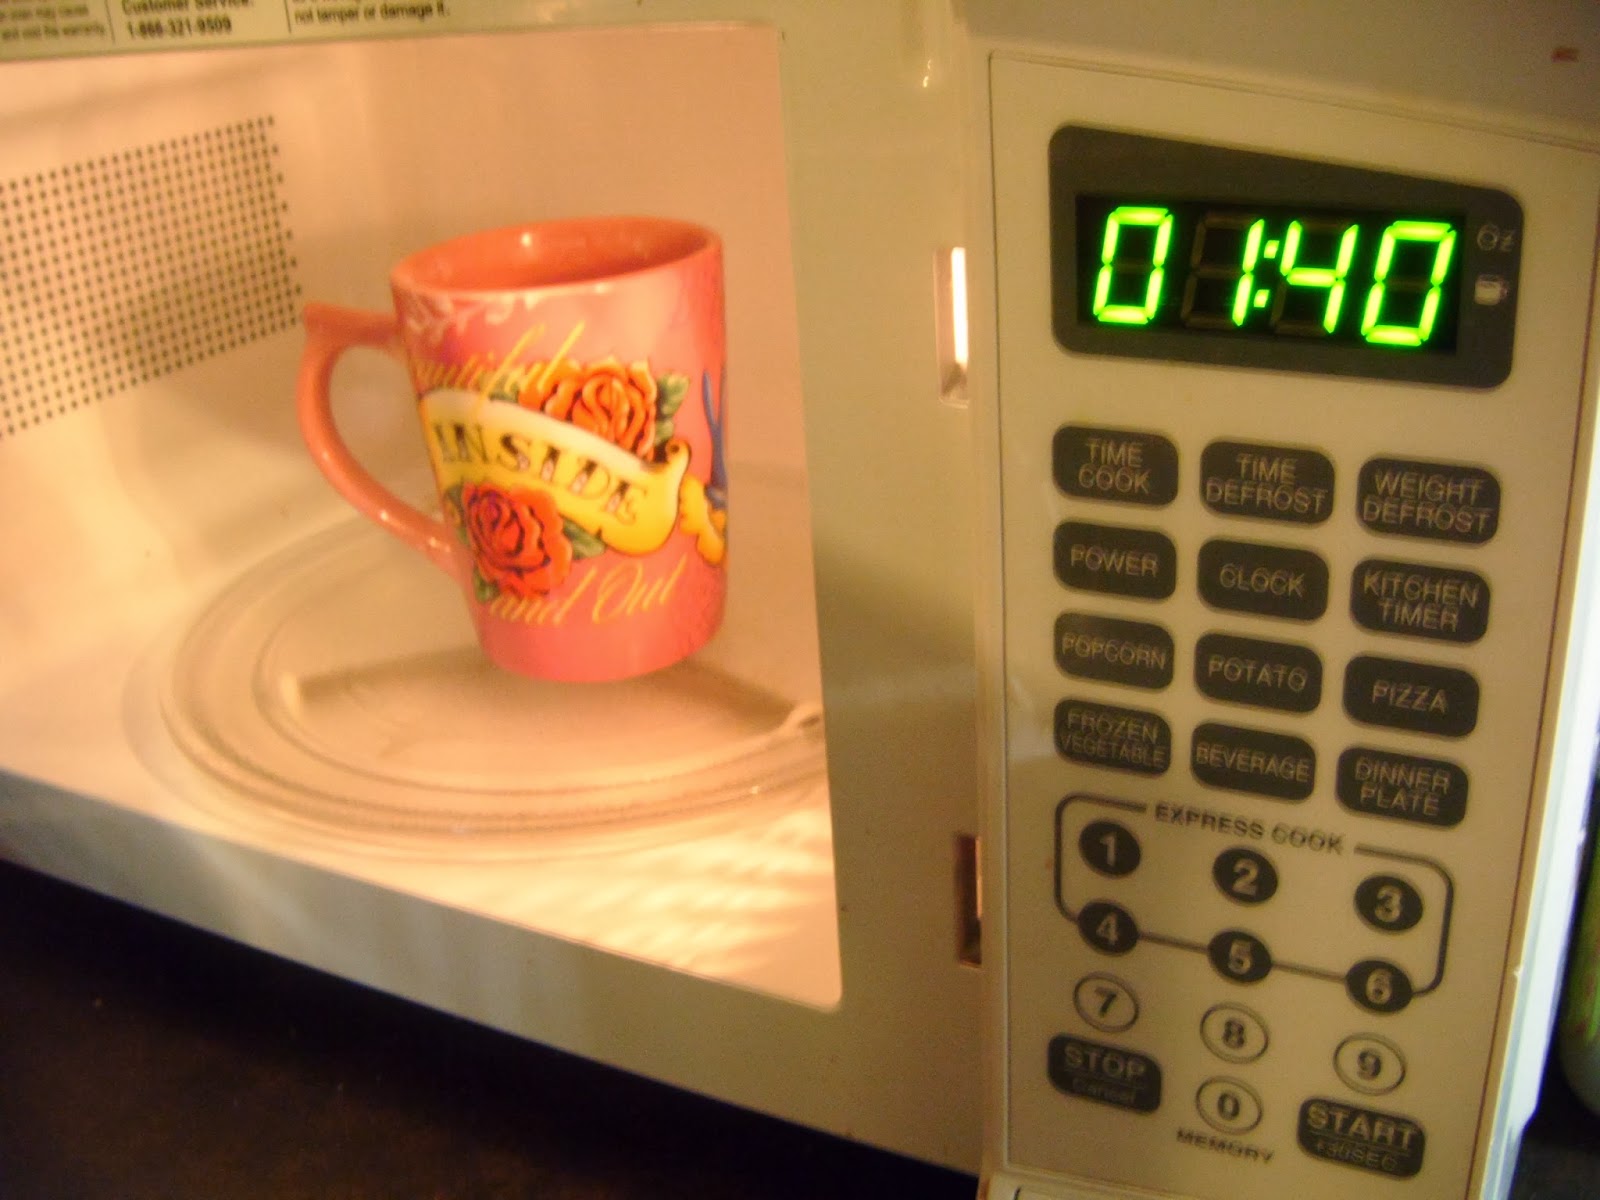
Brownies in a Mug Recipe! (No Egg)
I have seen this recipe all over Tumblr and Pinterest, so I decided to try it out! This version does not call for an egg or butter like some others do. Here's what you'll need!


- 1/4 cup of flour
- 1/4 cup of sugar
- 2 TBSP of cocoa powder
- a pinch of salt
- 2 TBSP of olive oil
- 3 TBSP of water
- Your favorite mug
- Toppings such as marshmellows, nuts, etc. (optional)
First add all your dry ingredients. Mix with a fork until everything is evenly distributed. Make sure you get the bottom of the mug and the sides.
Next add the wet ingredients. Again, mix until smooth. If you are adding nuts or some thing else you want throughout the brownie, add it now.
Now put it in the microwave for a minute and forty seconds (some times may vary depending on the wattage of your microwave).
If you are going to add marshmallows like I am, put a small handful on top then pop it back in the microwave for 10 seconds.
Now that your marshmallows are a little melted, wait for your treat to cool and enjoy! :)
Thursday, January 9, 2014
Wednesday, January 8, 2014
Outfit of the Day: I just like skirts.

Today I really wanted to wear a skirt I had bought last week from Gap. It has some polka dotted designs on it that remind me of peacock feathers for some reason. I paired it with a fitted light blue tee.

For shoes I wore knee high grey socks under my brown leather boots. They are super comfy and cute!
Monday, January 6, 2014
Purederm Nose Pore Strips Review
While doing some after Christmas shopping I found nose pore strips at Forever 21. I had been looking for something like this for quite sometime so I decided to pick them up and try them out.

I got the "Tea Tree" version, there was also a charcoal version. In each box you get six strips. Before applying the strips you have to wet your nose down with water. You then apply the strip and press it down so that the whole strip is in contact with your skin.

This is my nose before the strip. I have quite a few black heads across my nose.

This is my nose after. Honestly it didn't do much. It did remove a few of the blackheads from the front of my nose, but nothing major. For the price I paid for the pack, I'm not to disappointed and I will probably use the rest of them in hopes of better luck!
Comment below if you know of any products or home remedies to remove blackheads and maybe I'll try them out and post about it! If I try your suggestion I will definitely give you credit.
~Kenny
I got the "Tea Tree" version, there was also a charcoal version. In each box you get six strips. Before applying the strips you have to wet your nose down with water. You then apply the strip and press it down so that the whole strip is in contact with your skin.
This is my nose before the strip. I have quite a few black heads across my nose.
This is my nose after. Honestly it didn't do much. It did remove a few of the blackheads from the front of my nose, but nothing major. For the price I paid for the pack, I'm not to disappointed and I will probably use the rest of them in hopes of better luck!
Comment below if you know of any products or home remedies to remove blackheads and maybe I'll try them out and post about it! If I try your suggestion I will definitely give you credit.
~Kenny
Sunday, January 5, 2014
Wednesday, January 1, 2014
Happy New Year!
Happy New Year lovelies!
Now, I'm not one to make New Year's resolutions, seeing as I never keep them, but this year I do want to step out of my comfort zone. Do things I wouldn't normally do and I encourage you to do the same! Whether it is as little as trying a new lipstick color or as big as traveling to another country, go for it! Trying new things is good for you and you won't regret it.
Now, I'm not one to make New Year's resolutions, seeing as I never keep them, but this year I do want to step out of my comfort zone. Do things I wouldn't normally do and I encourage you to do the same! Whether it is as little as trying a new lipstick color or as big as traveling to another country, go for it! Trying new things is good for you and you won't regret it.
I'd rather regret the things I have done than the things that I haven't.
~Lucille Ball
Subscribe to:
Posts (Atom)