

Saturday, November 16, 2013

Thursday, November 14, 2013
Wednesday, November 13, 2013
DIY Salt Spray & Beach Waves Tutorial
Even though its November, luscious waves in your hair are super cute and easy to do! In this tutorial I will be showing you how to make your own salt spray, instead of going out and buying one, and how I get no heat waves while I sleep!

Here's what you'll need: An empty spray bottle (I got mine from the Dollar Store), Salt (In my house we use Himalayan Pink Salt, but any will work), and some sort of conditioner.

First add about a tablespoon of salt to the bottom of your bottle. I just eyeballed it. If you want more texture in your hair add a little bit more, if your hair already has a lot of texture you can add less.

Next add your conditioner. This is to add a nice scent to your hair and to help the salt not dry it out. I added about the same amount as the salt.
Fill your bottle the rest of the way with water and shake very well, making sure to dissolve all of the salt. I would suggest shaking it before each use.

Now for the beach waves tutorial. Spray the salt spray over damp or wet hair after you have combed or brushed it. Now scrunch it up with your fingers to give it a little bit of wave.

Next, divide your hair into two halves. Braid each section down to the tips. Now you can go get some beauty rest!

When you wake up, take out your braids. Your hair may still be a little damp in some spot depending on its thickness and that's fine! Spray a little more of the spray through your hair again, ONLY A LITTLE! Then scrunch your hair to add a little more volume. Use your straighter to fix the roots (if you need to) and the tips (also if you need to) and your done!

Here's what you'll need: An empty spray bottle (I got mine from the Dollar Store), Salt (In my house we use Himalayan Pink Salt, but any will work), and some sort of conditioner.

First add about a tablespoon of salt to the bottom of your bottle. I just eyeballed it. If you want more texture in your hair add a little bit more, if your hair already has a lot of texture you can add less.

Next add your conditioner. This is to add a nice scent to your hair and to help the salt not dry it out. I added about the same amount as the salt.
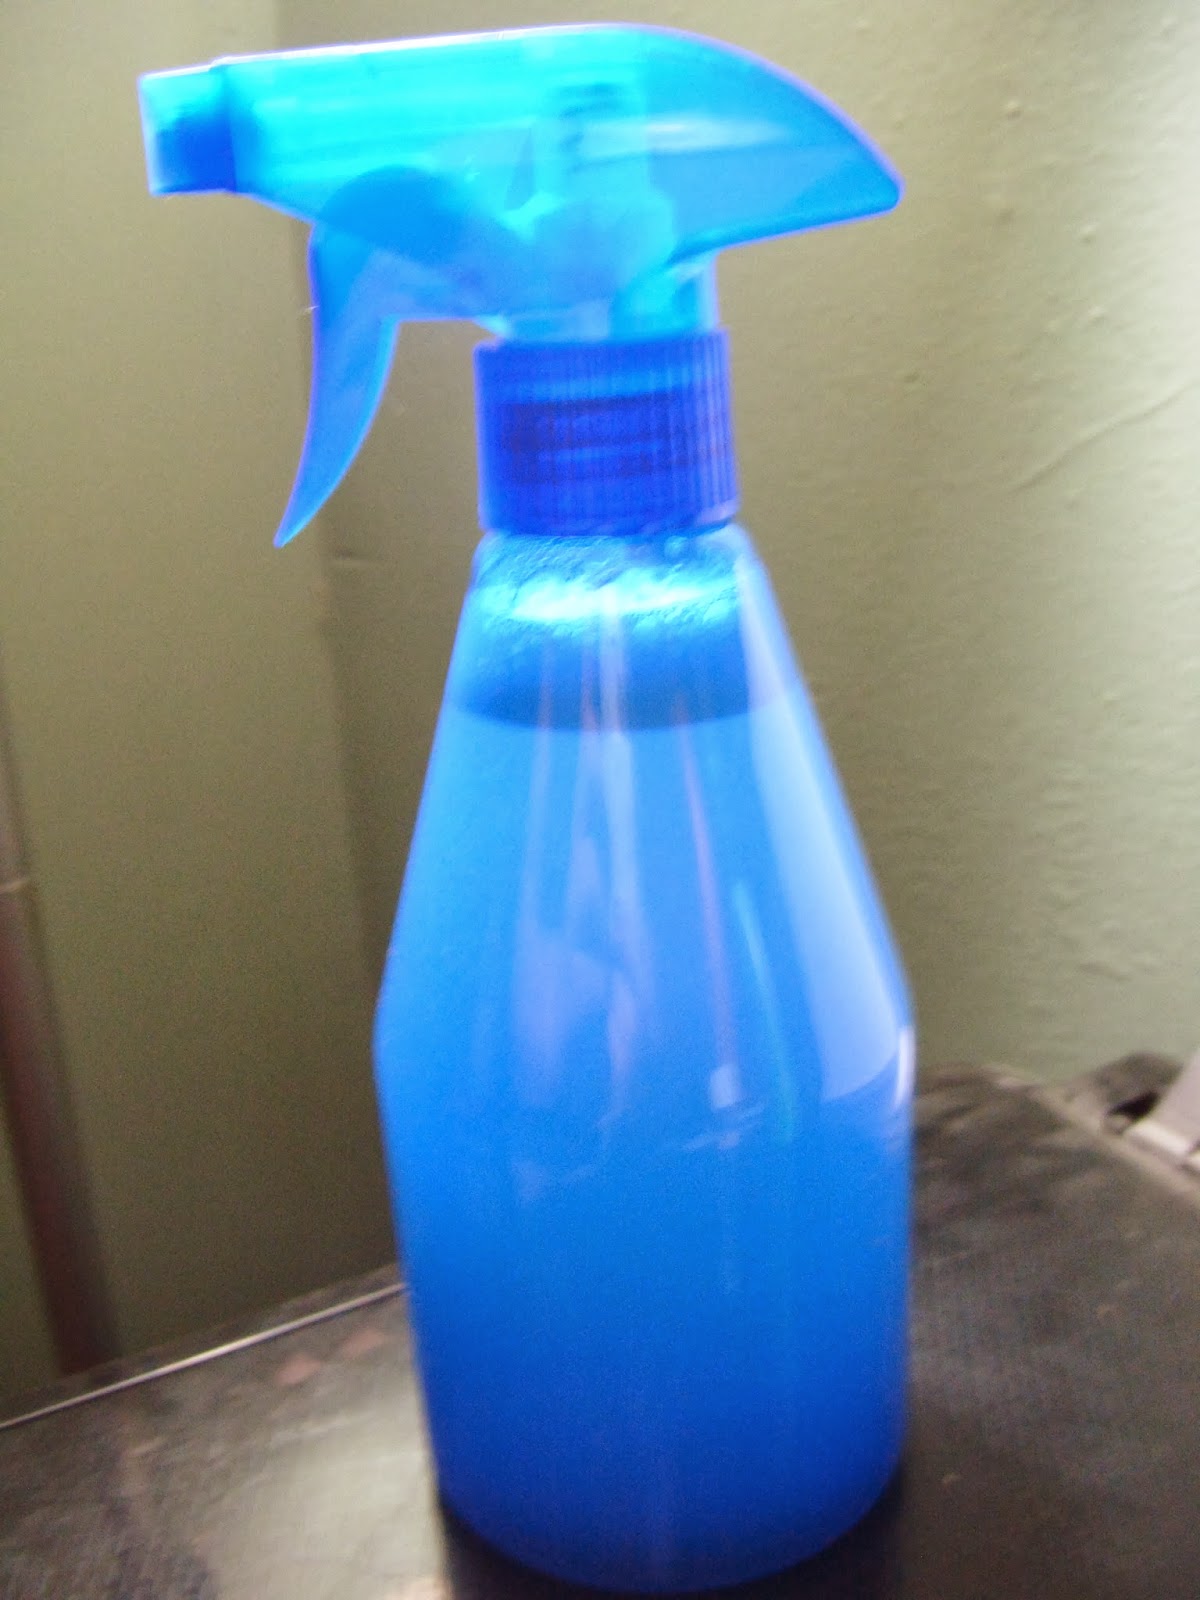
Fill your bottle the rest of the way with water and shake very well, making sure to dissolve all of the salt. I would suggest shaking it before each use.

Now for the beach waves tutorial. Spray the salt spray over damp or wet hair after you have combed or brushed it. Now scrunch it up with your fingers to give it a little bit of wave.
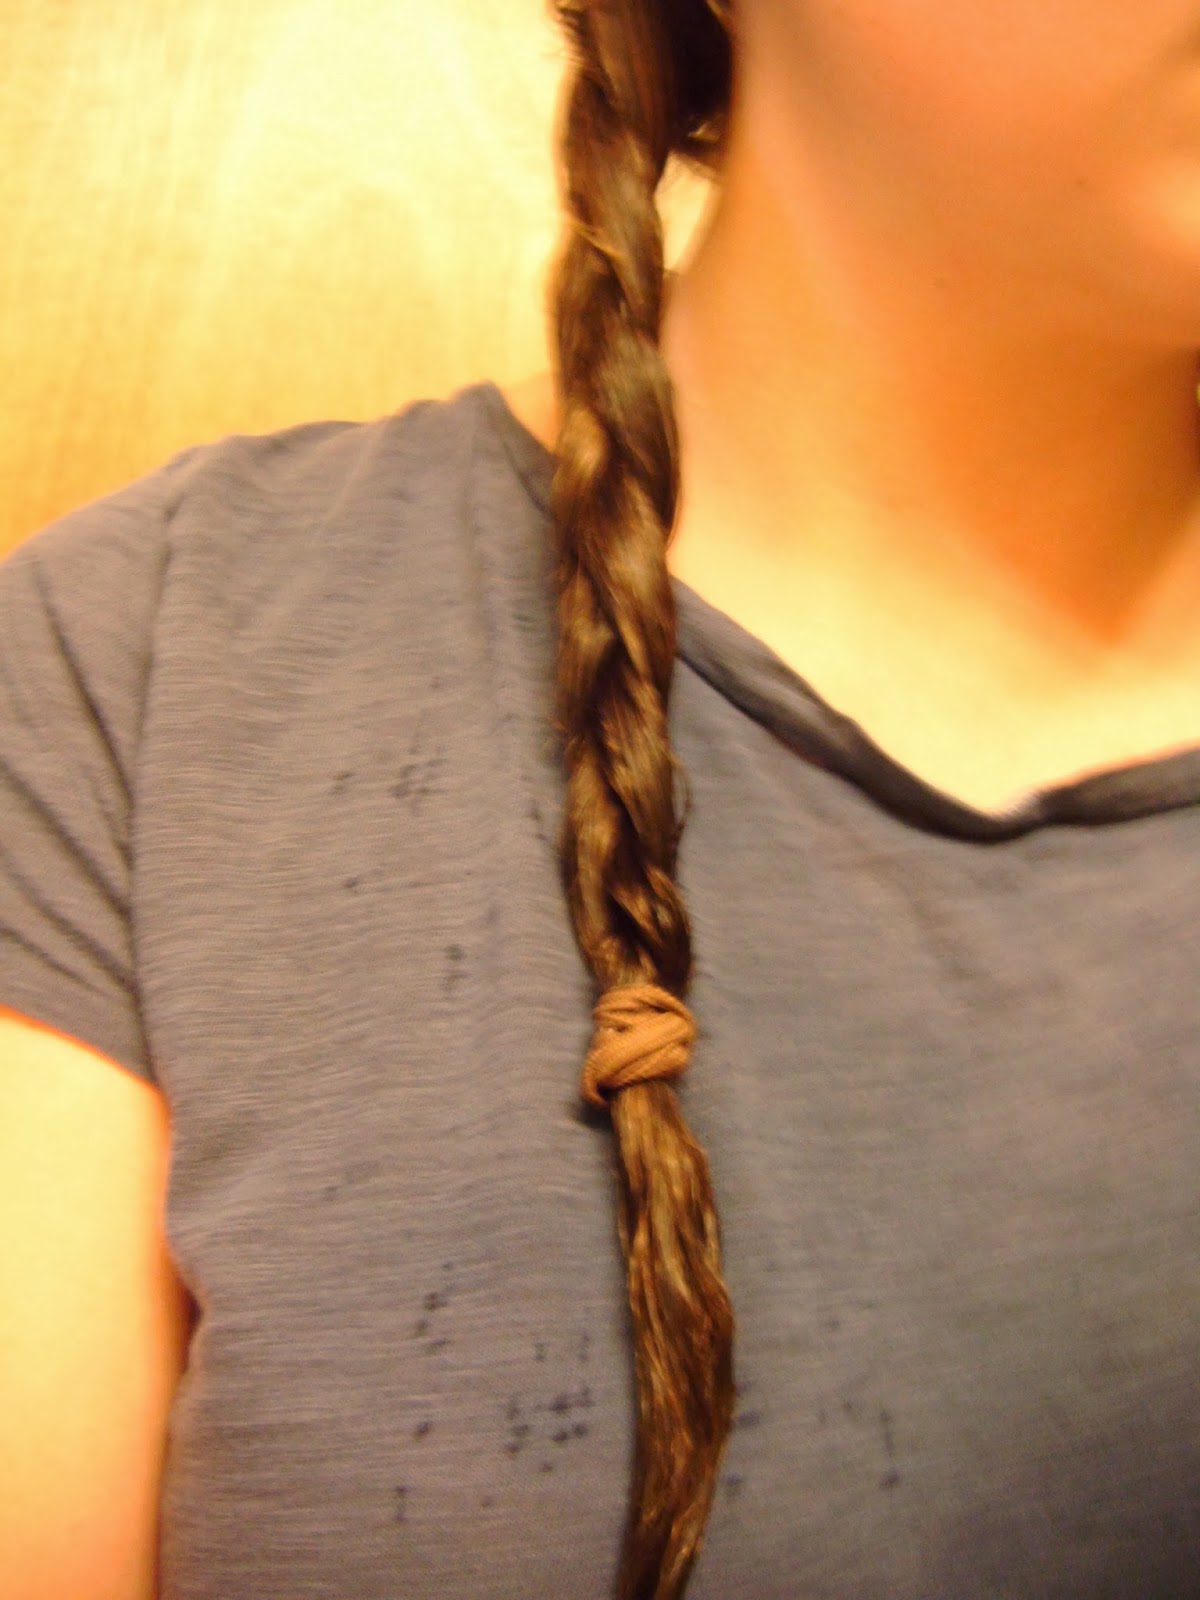
Next, divide your hair into two halves. Braid each section down to the tips. Now you can go get some beauty rest!

When you wake up, take out your braids. Your hair may still be a little damp in some spot depending on its thickness and that's fine! Spray a little more of the spray through your hair again, ONLY A LITTLE! Then scrunch your hair to add a little more volume. Use your straighter to fix the roots (if you need to) and the tips (also if you need to) and your done!
Tuesday, November 12, 2013
Target Haul (Video)
Hey guys! This is my first YouTube video, so its not the greatest, but I hope you guys like it! Leave your comments below and tell me what you think of the video and if you have tried any of the products I got.
Sunday, November 10, 2013
Dollar Store 5 Minute Hair Removal Kit Review/Tutorial
I was doing some early Christmas shopping at my local Dollar Store this weekend and when going through the beauty aisle I found this Hair Removal Kit.


I have been interested in at home hair removal for a while (such as waxing or a cream like this one), but never really got around to buying a kit and actually trying it. For a dollar there wasn't much to loose!
The directions say to try a test patch and leave it on for 24 hours, but I didn't do that because I am inpatient. It says to apply very thick like so:

It says to leave it on for five minutes, then using the razorless plastic blade they give you to scrap off some of the cream to see if it is all dissolved. The first time I put it on I didn't have enough on, but then I applied more like in the picture above and waited another five minutes. All of the hair was gone! Even though I removed all of the cream with warm water and the razor it left my legs dry and icky. So I jumped in the shower and it was better! No more dry or itchiness.
Overall, I think this product is definitely worth more than a dollar and I will probably be repurchasing it. The only downside is the itchiness afterwards, but rinsing your legs off with warm water and some soap in the tub or shower gets rid of that.
Wednesday, November 6, 2013
3 Easy ways to style hair bows
Sometimes doing your hair can be a chore and in the mornings I don't want to spend more than 5 minutes on mine. Here are my 3 favorite ways to style my hair with hair bows and they take under 5 minutes each!


Here's what you'll need:
- A hair brush or comb
- A few hair ties (preferably ones that match your hair)
- A bow that you want to use (these are DIY hair bows and you can find the instructions here: http://kennyista.blogspot.com/2013/10/diy-hair-bow.html)
- A few bobby pins (optional)

This first style is super easy. Instead of just pulling your bangs back, pull them into a twist and secure them with the bow and you're done.

Start out with your hair like the first hair style with your bangs twisted back. Then twist back a small section on the other side of your head. Secure the two pieces in the back with your bow.

This last one is my take on the trendy messy bun. First pull your hair up into a high pony tail and tease (or backcomb) the base of your ponytail. This will give your bun more volume and fluff. Then wrap your hair up into a bun and secure with a pony tail. Play with it until you get a shape you like. Finally, pull down some of your baby hairs to frame your face and pin the bow in the front of your bun!


Tuesday, November 5, 2013
Outfit of the Day: Preppy

I have been seeing sweaters paired with button up shirts all over Tumblr and finally I have been able to try it. With my sweater/shirt combo I wore leggings under some plain black shorts.

For shoes I wore my go to grey ankle boots. They have a good amount of detailing (the buckles) and they are super laid back and comfortable.

For my hair I pulled it up into a messy bun with some of my bangs pulled out. Then I put a plain white bow in the front.

To stick with the laid back look I did a natural eye look and dabbed on some red chap stick to add a little bit of color to my lips.
Subscribe to:
Posts (Atom)